Growing Winter Microgreens on a Windowsill: A Clear Step-by-Step Method, Variations, and Troublesho
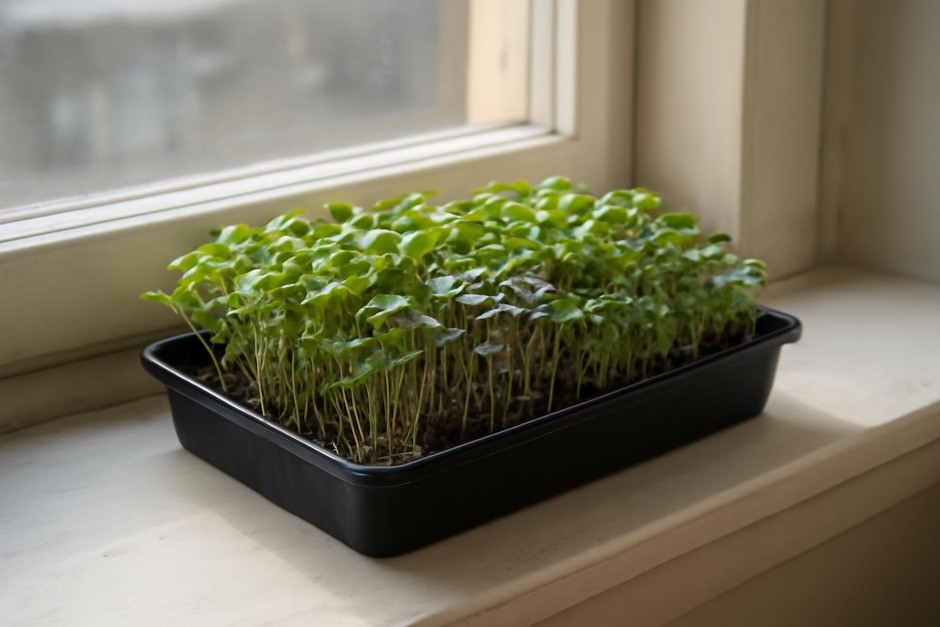
Microgreens are a fast, flavorful crop that brings fresh greens to the kitchen when the garden is dormant. They need surprisingly little space and reward a small investment of time. This article gives a step-by-step method tailored to winter windowsill growing, explains the principles behind each choice with short examples, and offers variations and troubleshooting so you can adapt to your light, space, and taste preferences.
Step-by-step method (four main stages)
-
Select seeds, medium, and container.
Principle: Seeds vary in size, energy, and flavor intensity. Choose seed varieties labeled for microgreens such as radish, sunflower, pea shoots, basil, or mustard. Small seeds (e.g., arugula, mustard) need a shallower layer of medium; larger seeds (sunflower, peas) need more depth and room to root.
Example: A 10 x 20 cm shallow tray with drainage works well. Use a light potting mix or a soilless seed mix about 2–3 cm deep, or a coconut coir mat for a soil-free option.
-
Sow with intent: density, depth, and label.
Principle: Density controls competition for light and air. Too sparse wastes space; too dense invites mold and weak stems.
Method: For tiny seeds like arugula, aim for a single even layer that lightly carpets the surface. For larger seeds like sunflower, sow so seeds touch but don’t stack. Press seeds gently into the medium; do not bury them deeply—most microgreen seeds germinate best at or just below the surface.
Example: Spread a teaspoon-sized heap of arugula across your tray and tilt to distribute; for sunflower, place seeds edge-to-edge in a single layer.
-
Manage moisture and warmth for germination.
Principle: Germination relies on consistent moisture and moderate warmth. Seed energy fuels initial growth; keep conditions stable so seedlings don’t waste reserves.
Method: Mist the seeded tray thoroughly, cover lightly with a clear lid, another tray, or a cardboard hood to keep humidity high. Maintain temperatures around 18–22°C (65–72°F). Check daily; remove the cover when cotyledons appear or when you see condensation reducing.
Example: For mustard or radish, germination often appears within 2–4 days; sunflower and peas may take 3–7 days.
-
Light, ventilation, and harvest.
Principle: After cotyledons open, light quality and airflow determine stem thickness, color, and flavor. Brighter, cooler light produces sturdier, less bitter microgreens.
Method: Move trays to a sunny windowsill with strong indirect light or use an LED grow light 20–30 cm above the tray. Provide gentle airflow with occasional opening or a small fan on low. Water from below where possible or mist lightly to avoid disturbing seedlings. Harvest when true leaves appear—typically 7–21 days depending on variety—by cutting stems just above the medium with scissors.
Example: Peppery arugula is ready in 10–14 days; peas and sunflower are usually ready by 12–21 days when they show their first true leaves.
Variations
-
Flavor-focused blends.
Mix a base of mild sunflower or pea shoots with a small percentage of strong-flavored seeds—mustard, radish, or basil—for a balanced plateable mix. Start with 70% mild to 30% spicy and adjust.
-
Continuous harvest (staggered succession).
Seed a new tray every 7–10 days to create a rolling supply. Label trays with sow dates and rotate placement on the sill so each tray gets even light exposure.
-
Soil vs. mat.
Soil gives slightly richer flavor and longer life post-harvest; coir or hemp mats are cleaner, faster, and less messy. Try both to see which you prefer in winter conditions.
-
Lighting strategies.
If your windowsill faces north or daylight is weak in winter, use a small LED grow bar on a timer set for 12–14 hours to simulate spring light intensity and prevent legginess.
Troubleshooting
-
Mold or fuzzy white growth.
Cause: Excess humidity and poor airflow. Fixes: Increase ventilation, reduce sowing density, remove affected patches, and avoid over-saturating. Use a fan on low if indoor air is stagnant. Sterilizing trays between crops helps long-term.
-
Leggy, pale seedlings.
Cause: Insufficient light. Fixes: Move trays to brighter windowsill or add supplemental LED lighting closer to plants. Reduce temperature slightly; cooler light encourages compact growth.
-
Bitter or harsh flavor.
Cause: Overmaturity or stress (heat, inconsistent watering). Fixes: Harvest earlier—at cotyledon or first true-leaf stage for milder taste—and maintain even moisture and moderate temperatures.
-
Slow germination.
Cause: Low temperatures or old seeds. Fixes: Warm the tray gently (room temperature increase or top of refrigerator briefly) and test seed viability by soaking a few seeds in a damp paper towel; consider fresher seed lots for reliable winter crops.
Growing microgreens on a windowsill in winter is a compact, rewarding project that scales to your kitchen and appetite. By applying the simple principles—match seed energy and density to your container, keep moisture steady during germination, then provide bright light and airflow—you’ll harvest fresh, flavorful greens within weeks. Try one variety to start, learn how it responds to your light and temperature, then experiment with blends and succession planting.