Field Guide: Building a Simple Herb Drying Rack and Storing Your Harvest
Drying herbs is one of the most reliable ways to capture late-summer abundance for use through the year. This field guide offers a simple, careful method for drying a modest harvest on a homemade rack, with variations for fragile leaves and a troubleshooting section that helps you read what the herbs are telling you as they dry.
Step-by-step method
- Gather tools and choose herbs. Observe your plants: pick in the morning after the dew has evaporated and when leaves are dry to the touch. For the rack you need: two wooden dowels or a lightweight rod (about 2–3 feet), two supports (hooks or brackets), twine or string, clothespins or small binder clips, scissors, and paper labels.
- Prepare herbs. Rinse herbs only if very dirty; otherwise shake off soil and insects outdoors. Pat gently with a clean towel. Remove wilted or discolored leaves. Group stems into small bunches of 6–12 stems—observe spacing so air can circulate between stems.
- Tie and label. Make a simple overhand knot of twine about 1–2 inches from the cut ends. Attach a paper label to each bundle indicating herb and date—this observation habit helps you judge drying times later.
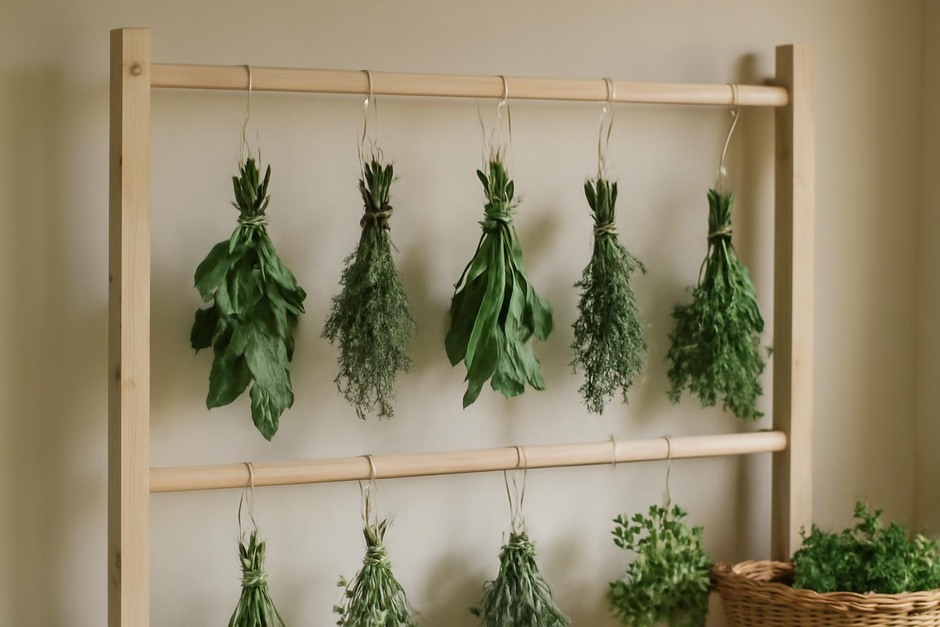
- Assemble the rack. Secure the two supports about 2–3 feet apart on a wall, in a closet, or across a room where air can move. Rest the dowels across the supports to form a low bar rack. For small spaces, a single dowel between two hooks works fine. Alternatively, hang the dowels from a rod perpendicular to floor joists.
- Hang the bundles. Drape each tied bunch over the dowel so the stems point up and leaves hang freely. Use clothespins or clips to secure particularly heavy bunches. Keep different herbs separated by a few inches to avoid cross-contamination of aroma and to improve airflow.
- Choose the drying location. Observe light and airflow in candidate spots. The ideal location is warm, dry, and well-ventilated but out of direct sun, which can bleach color and fragile oils. A shaded attic, breezy porch roof, or airy pantry are common choices.
- Monitor and record. Check bundles every 2–3 days. Rubbing a few leaves between fingers is a quick test: properly dried leaves will crumble into flakes and release a clear aroma; stems should be brittle. Record the number of days to help build a habit and refine timing for each herb.
- Store the dried herbs. Once dry, strip leaves from stems into labeled, airtight jars. Keep jars in a cool, dark place. Note that whole leaves retain aroma longer than crushed—crush only what you need before cooking.
Variations
Screen or rack for delicate leaves
For herbs with delicate leaves (basil, tarragon, lemon balm), use a stackable screen drying rack or lay leaves in a single layer on a breathable screen. This reduces bruising from bundling and shortens drying time. Rotate trays daily and observe whether leaves curl slowly without browning.
Clip-and-hang from a coat hanger
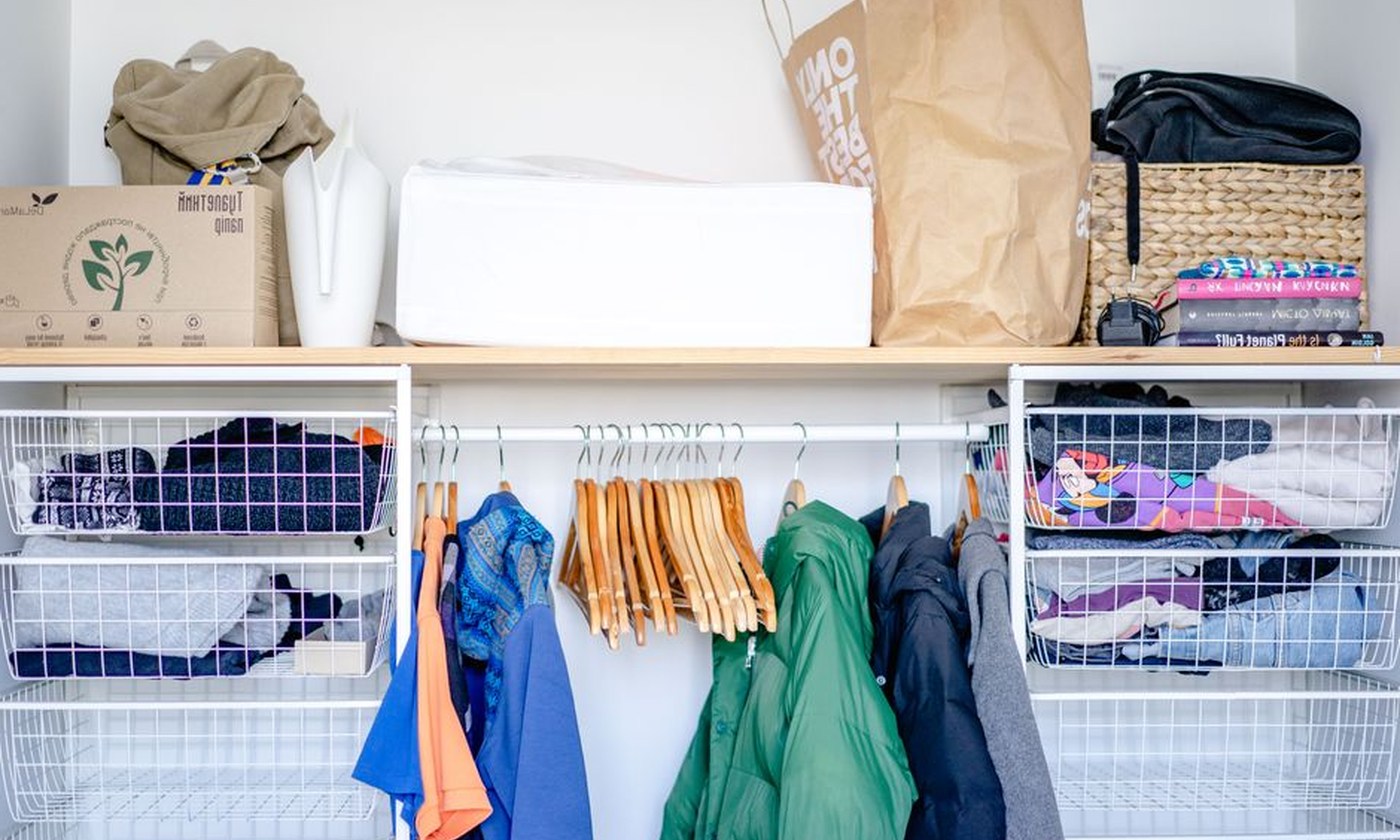
Use a wooden coat hanger and clothespins to create a portable hanging rack. Clip bunches to the hanger bar and suspend the hanger in an airy spot. This is a compact option for small harvests.
Low-heat oven or dehydrator method
If outdoor humidity is high, use a dehydrator or a conventional oven set to its lowest temperature (usually around 100–120°C/210–250°F—use your appliance’s lowest setting) with the door slightly ajar. Arrange leaves in a single layer and check every 15–30 minutes. Observe color and texture closely to avoid over-drying.
Troubleshooting: what to look for and how to respond
- Mold or musty smell. Observation: bundles feel damp and emit a sour or musty odor. Action: remove affected bundles immediately and inspect the drying location for high humidity or poor airflow. Reduce bundle size, increase ventilation, or move to a drier room.
- Leaves remain limp after several days. Observation: stems are not brittle; leaves stay flexible. Action: spread leaves on screens to increase surface area, reduce bundle thickness, or use a low-heat dehydrator. Check indoor humidity—if it’s above 60% consider dehumidifying or switching locations.
- Color fades or leaves bleach. Observation: vibrant green fades to pale or brown. Action: direct sunlight is likely. Move racks to a shaded spot and shorten exposure; harvest earlier in the day next season to reduce sun stress before drying.
- Herbs lose aroma. Observation: dried leaves lack the expected scent. Action: herbs may have been dried too hot or stored in warm light. Try gentler drying and store jars in a cool, dark place. Keep leaves whole until use to help preserve essential oils.
- Pests in stored jars. Observation: tiny insects or webbing in containers. Action: discard contaminated material. Clean jars with hot water before reuse and ensure herbs are fully dry—moisture attracts pests. Freezing newly dried herbs for a week before storage can deter some pests.
Drying herbs is equal parts craft and observation. By noting smells, textures, and the play of light and air where you dry, you’ll refine your method each season and keep more of the fresh garden’s flavor through the colder months.